Garage Drywall and Paint Prep Done the Right Way
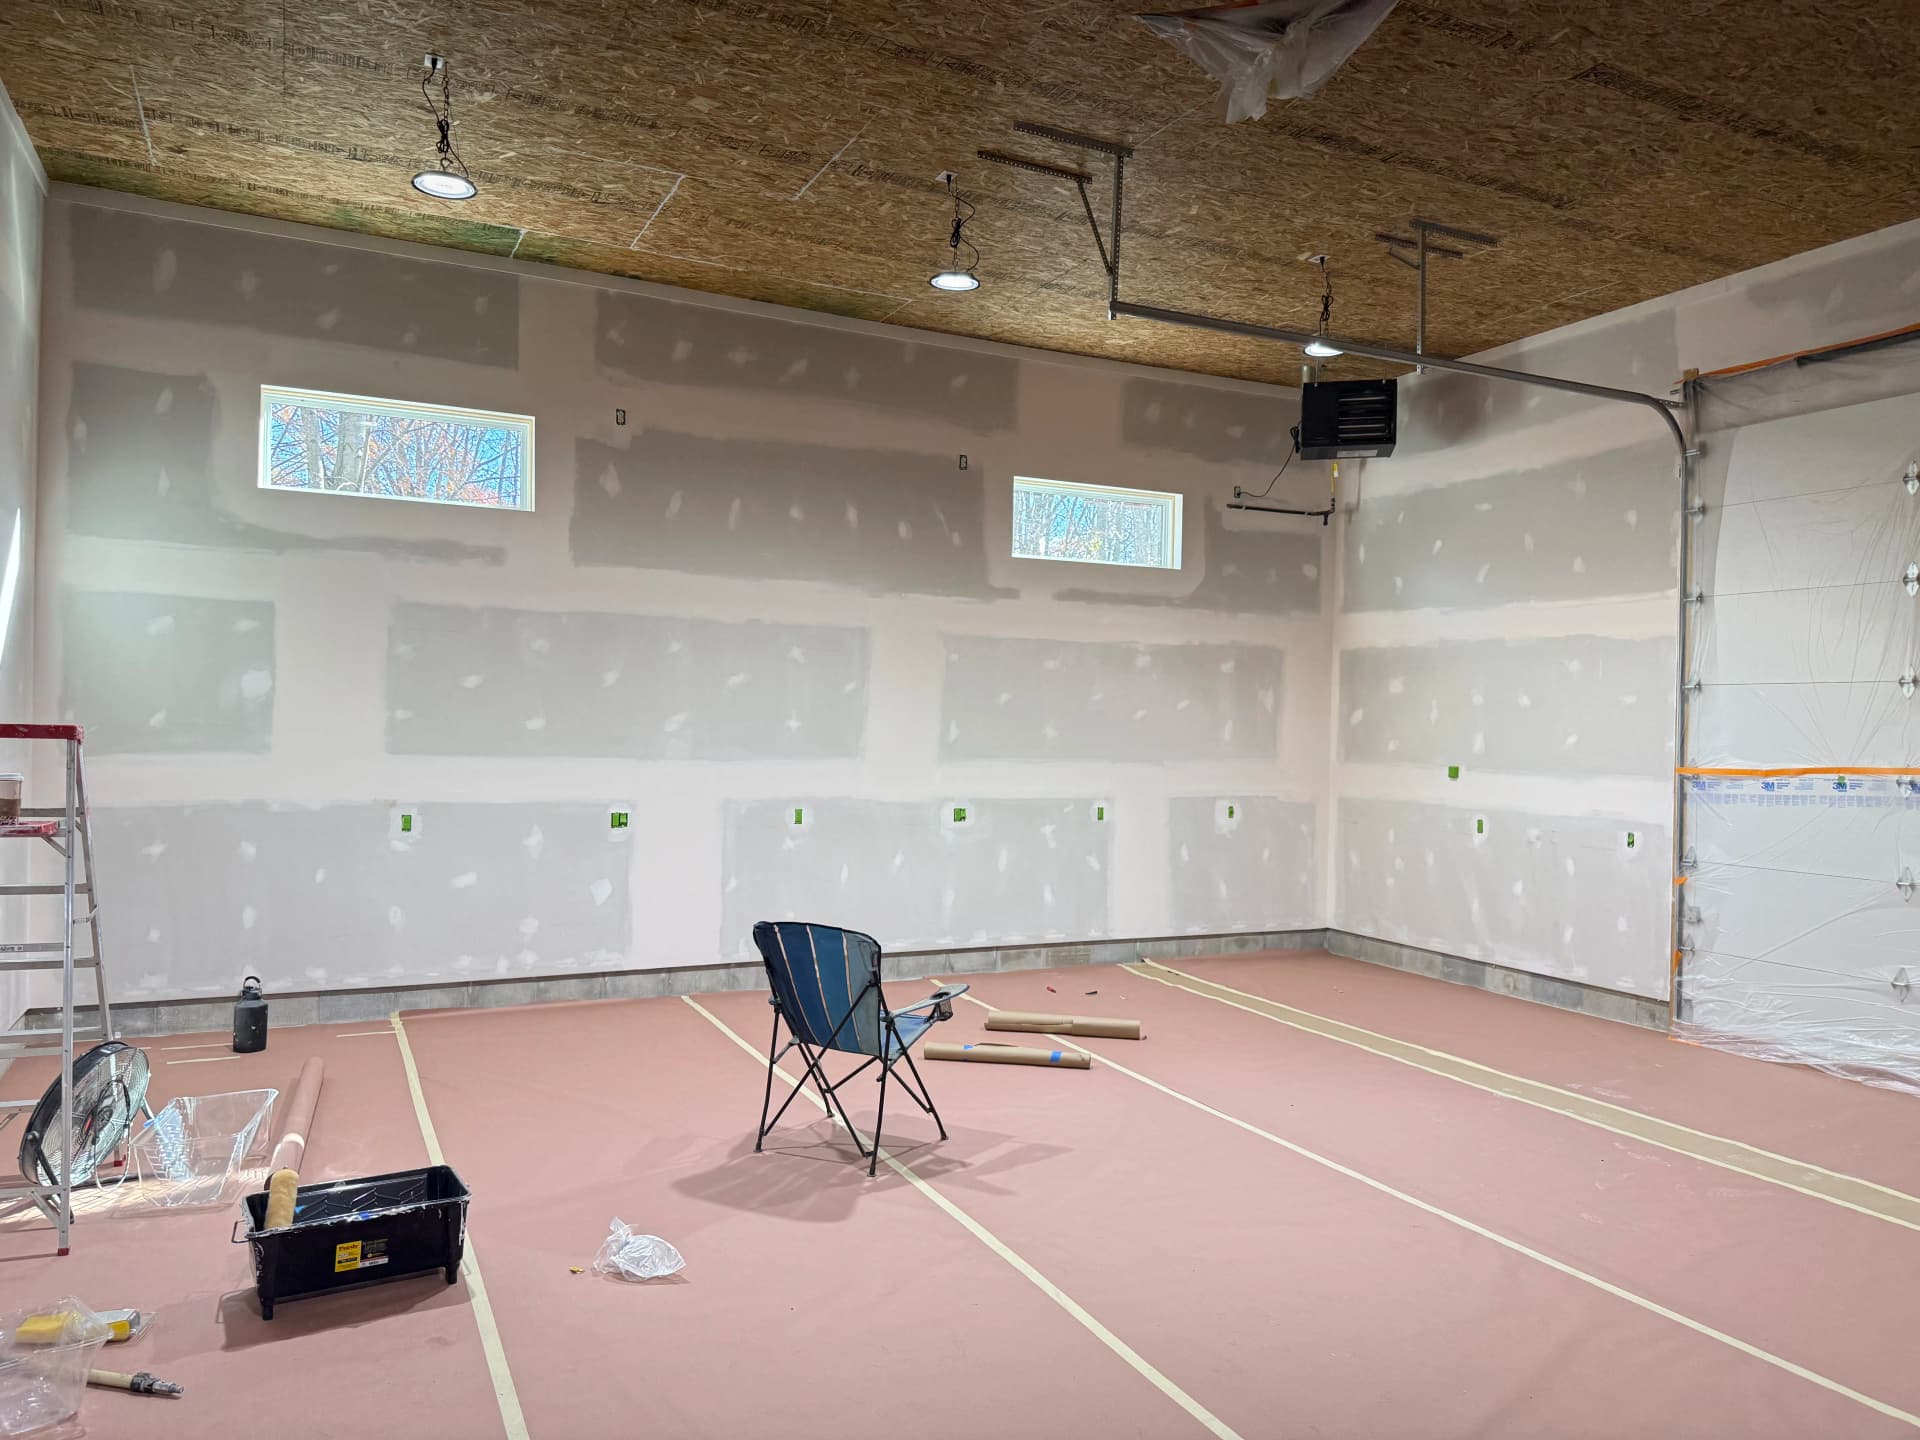
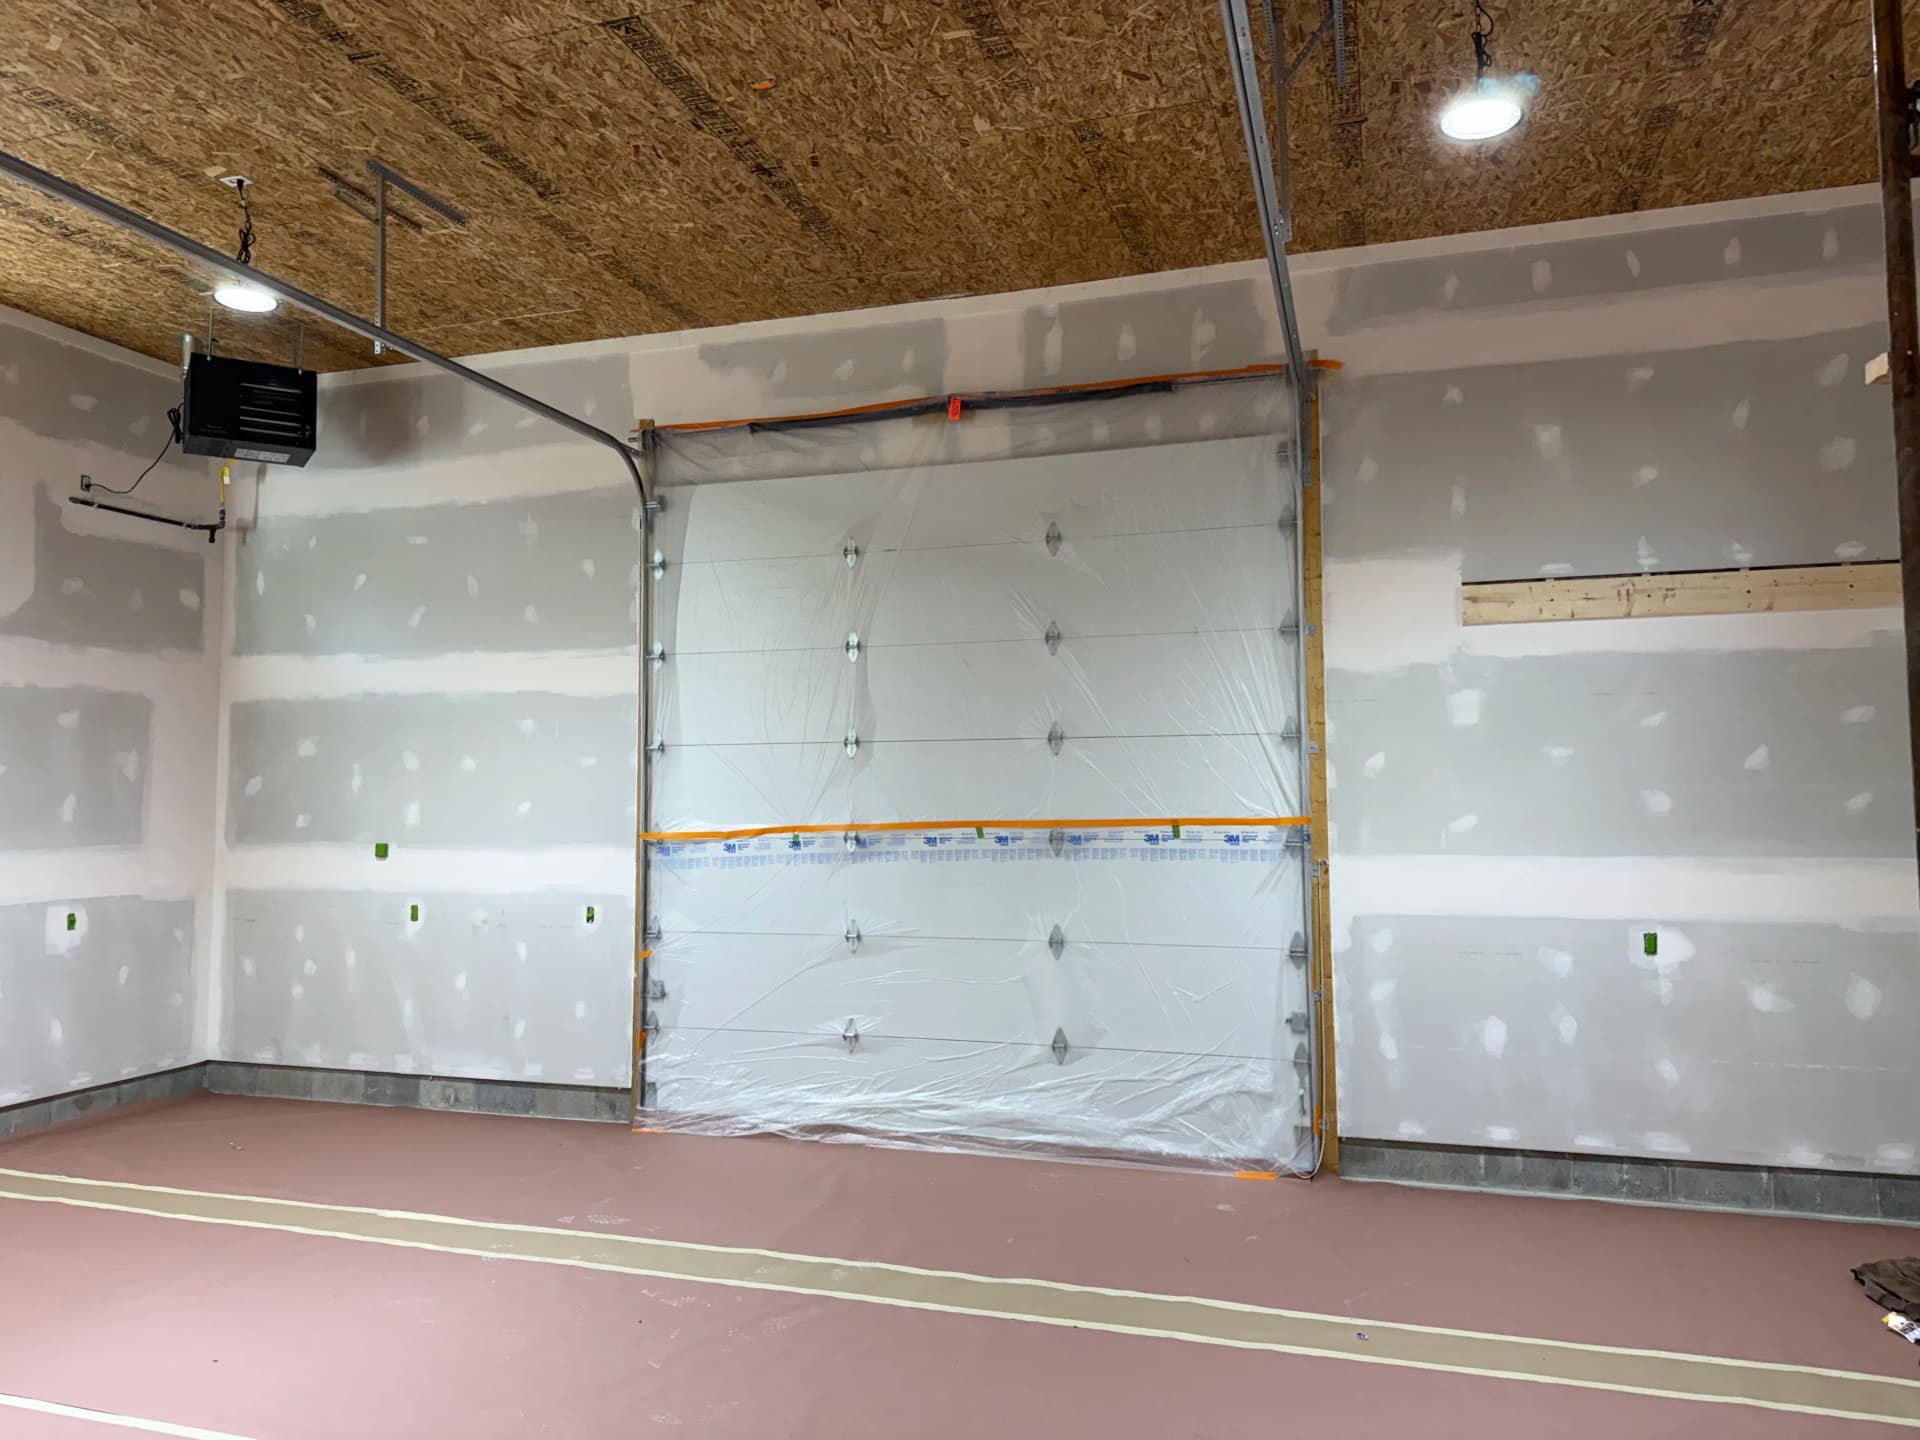
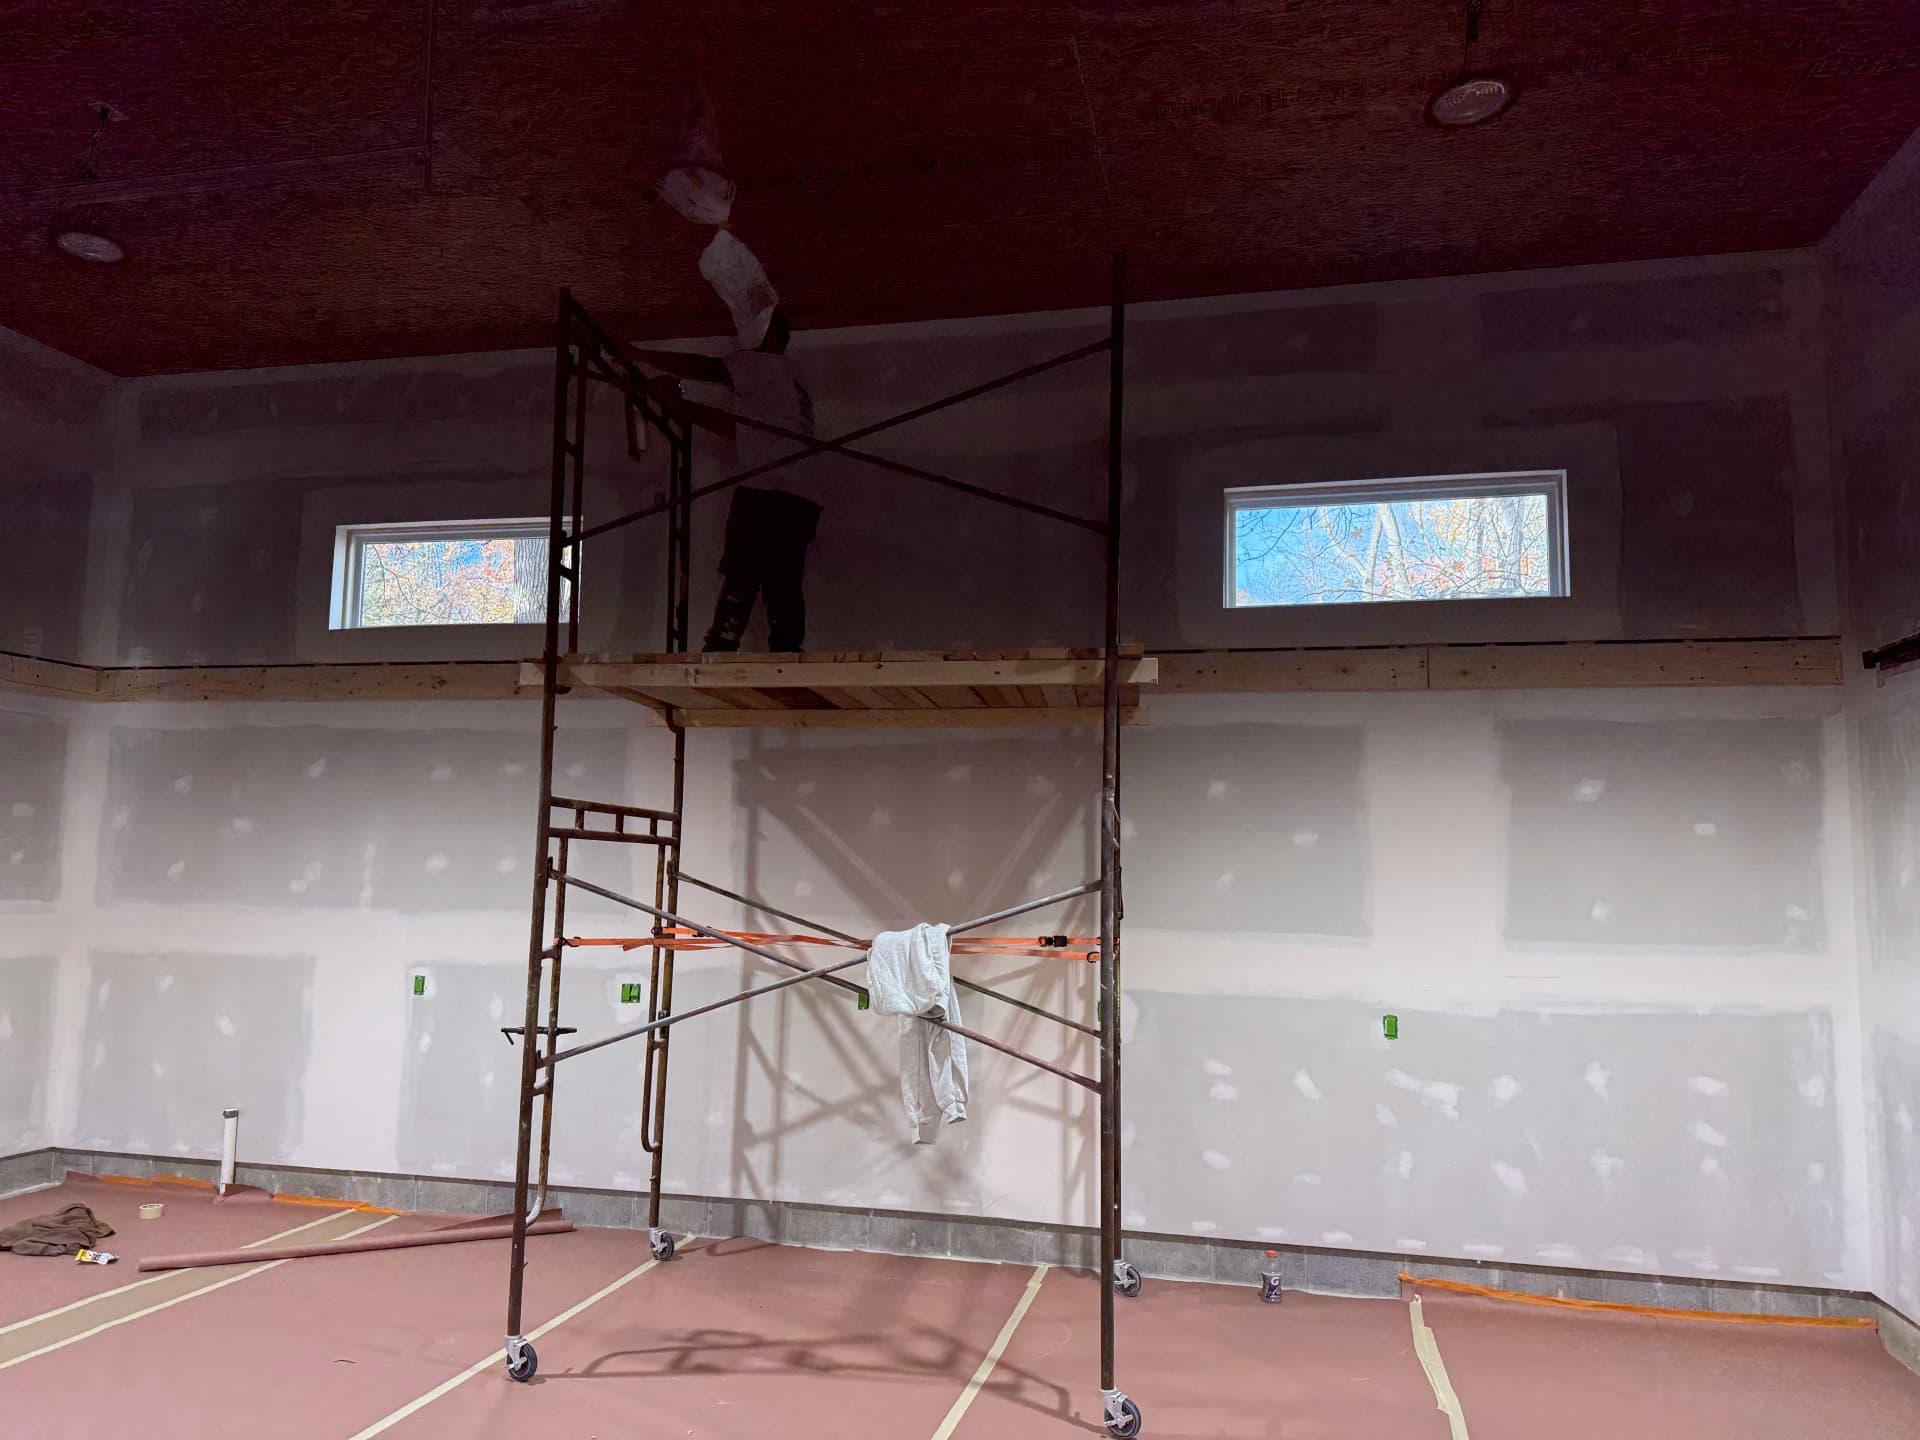
This is what it looks like when the work actually gets done right. Master Pjeter is mid-job on a full garage drywall and paint prep - and every step here is deliberate. The walls are hung, mudded, and moving toward finish-ready. Nothing rushed. Nothing skipped.
Good paint always starts with solid drywall work. That's not just something we say - it's how we operate. If the substrate isn't right, the paint won't hold up long-term. Bubbles, cracks, uneven sheen - those problems almost always trace back to what happened before the roller ever touched the wall.
Here we're working through a large garage space that needed walls hung from scratch. Scaffolding is up to handle the taller upper sections properly. The floor is protected. The garage door is fully masked with plastic and tape. Every surface that shouldn't get paint - doesn't get paint.
The small stuff matters. Electrical outlets marked off. Drop protection laid out across the entire floor. Masking tape lines run clean along the base. It's the kind of prep work that most people never see, but that's exactly what separates a finish coat that lasts from one that starts failing in a year.
Stay tuned - the finished look is coming, and it's going to be worth the wait.