Dark Brown Trim Gets a Clean White Makeover in Mount Clemens
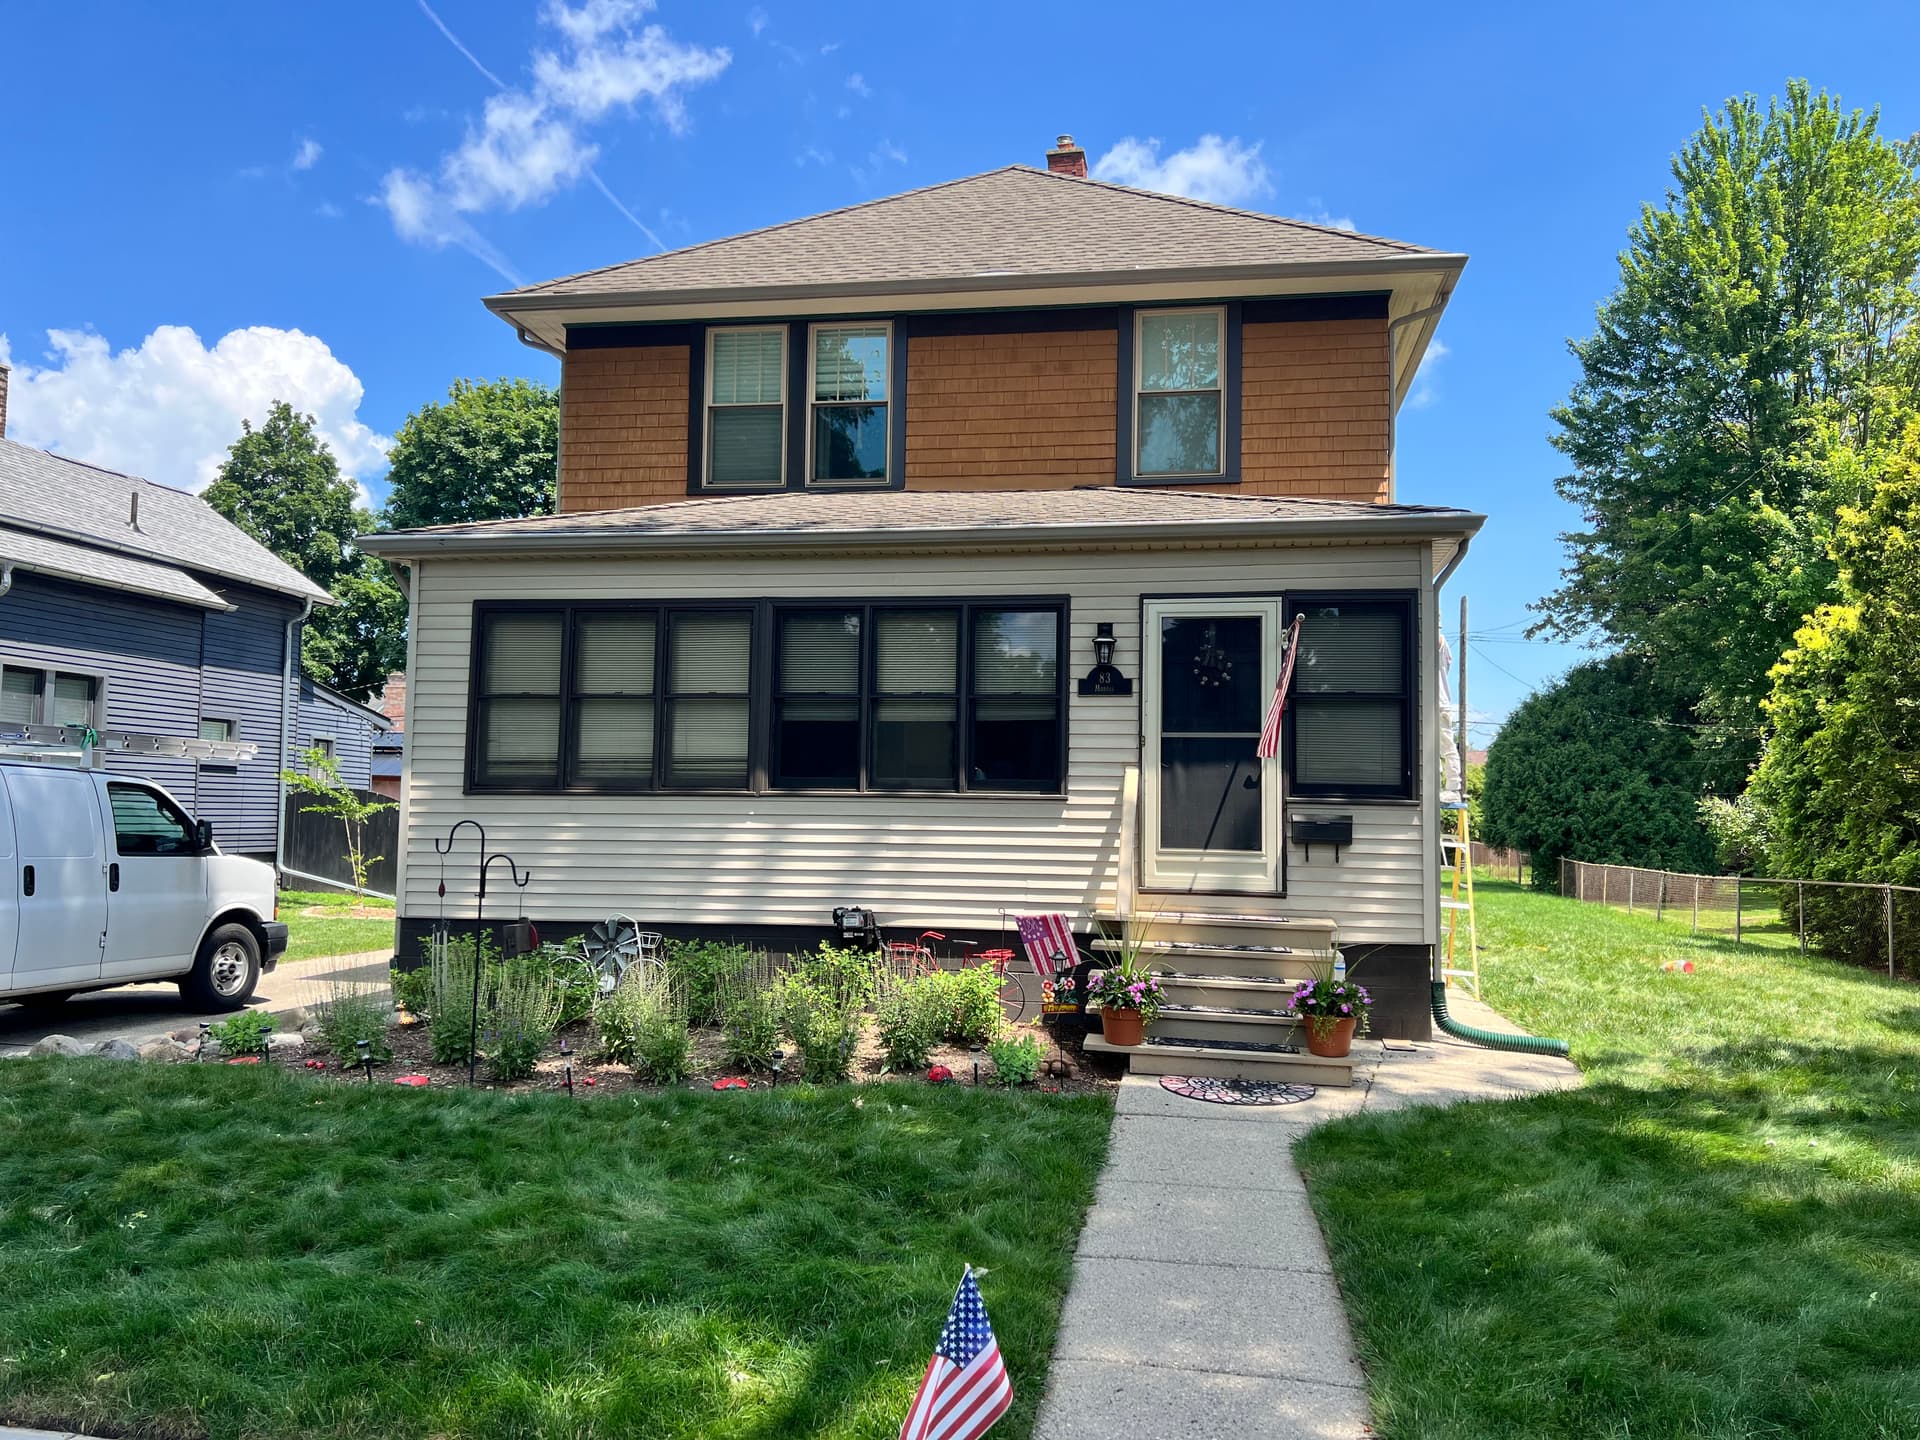
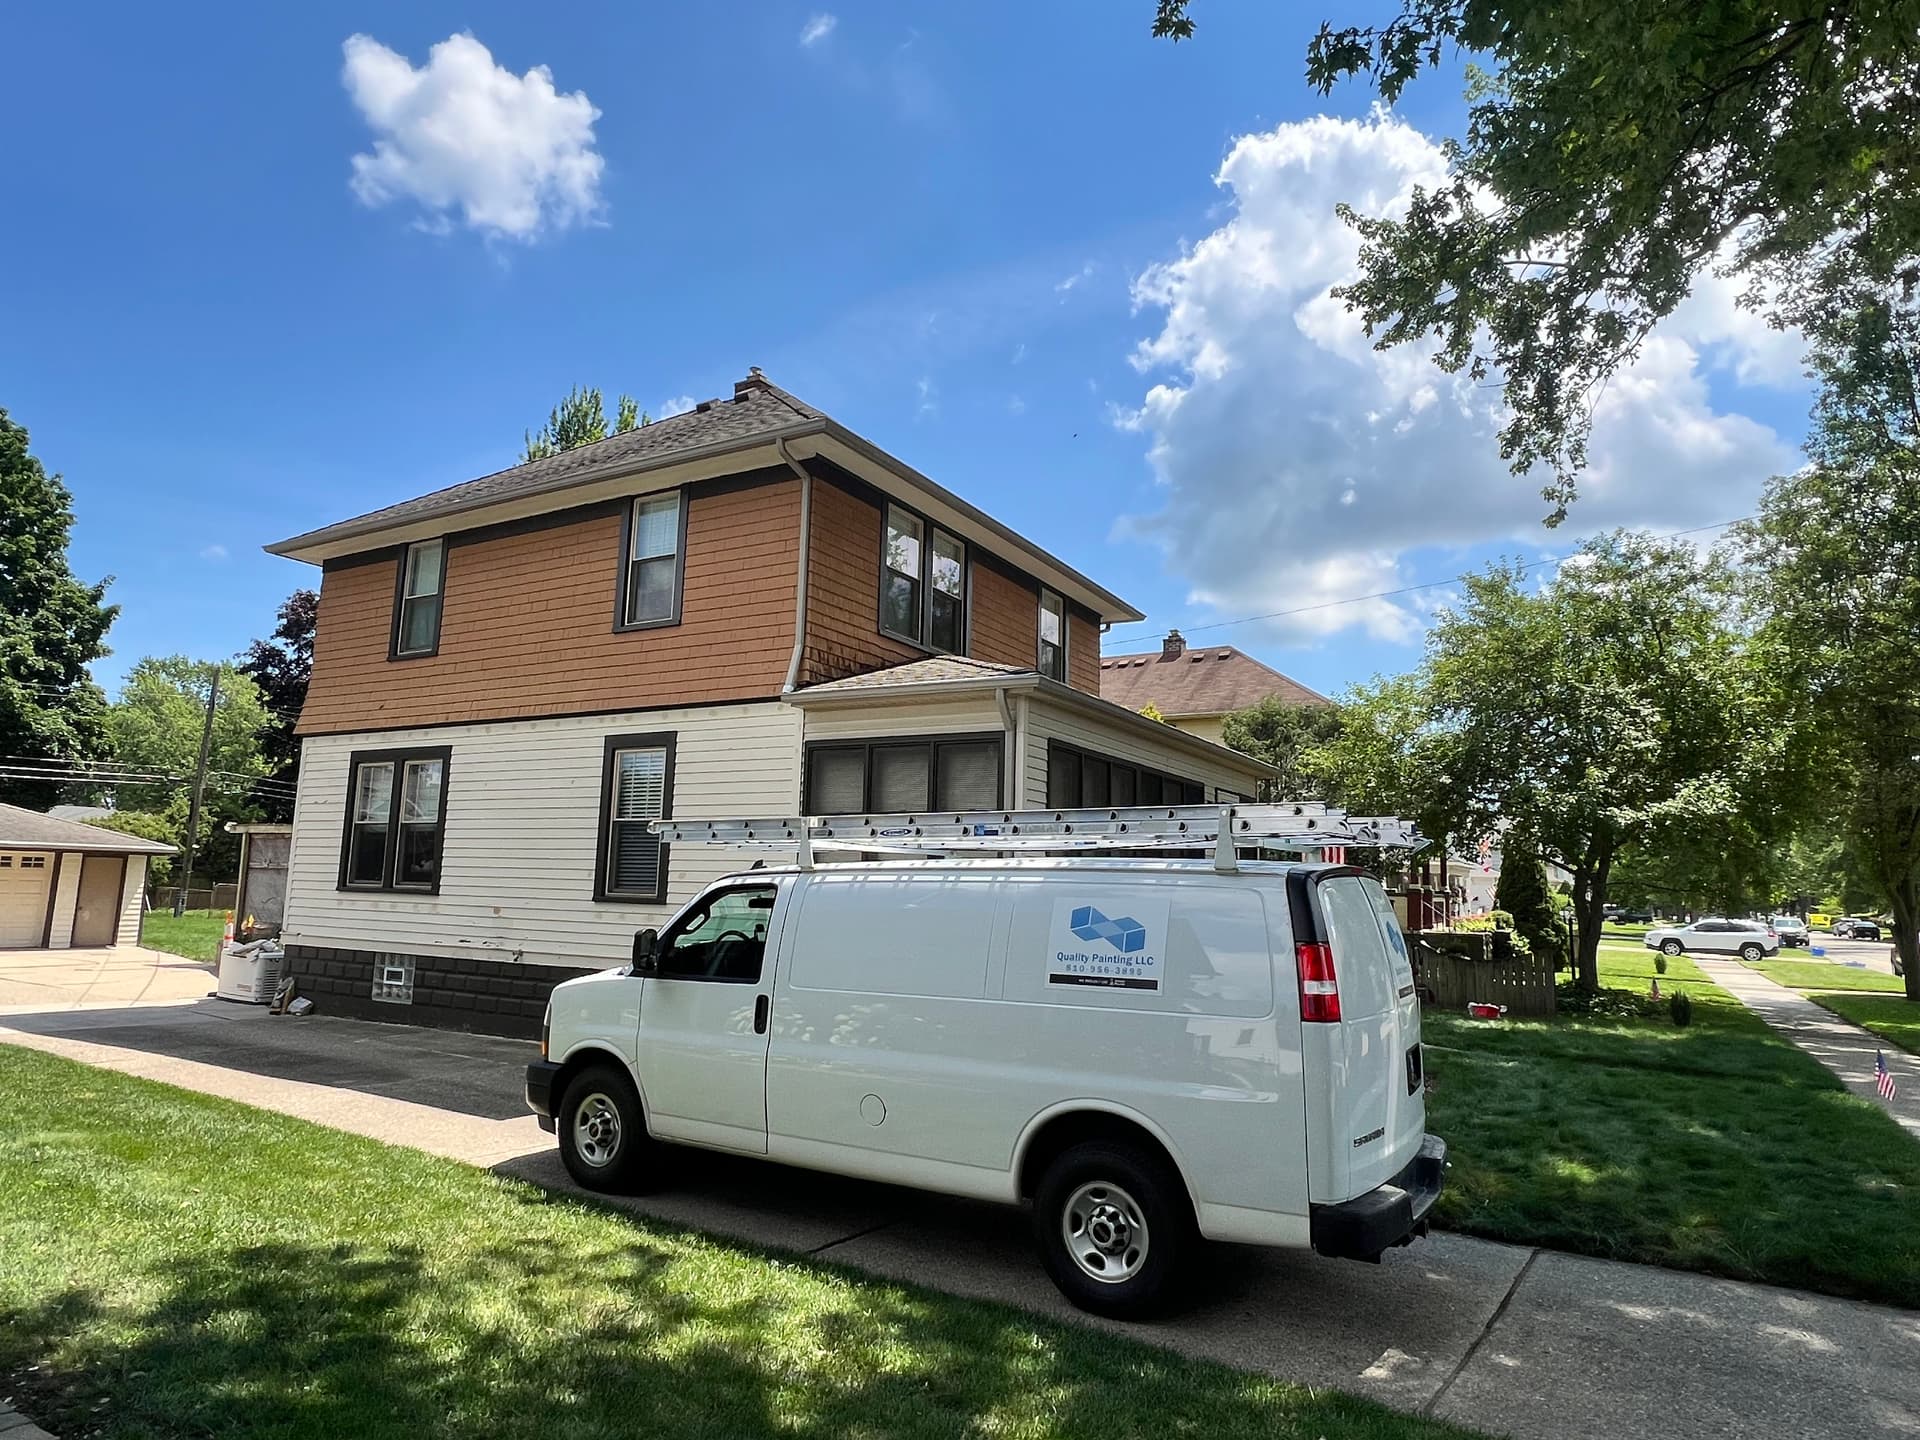
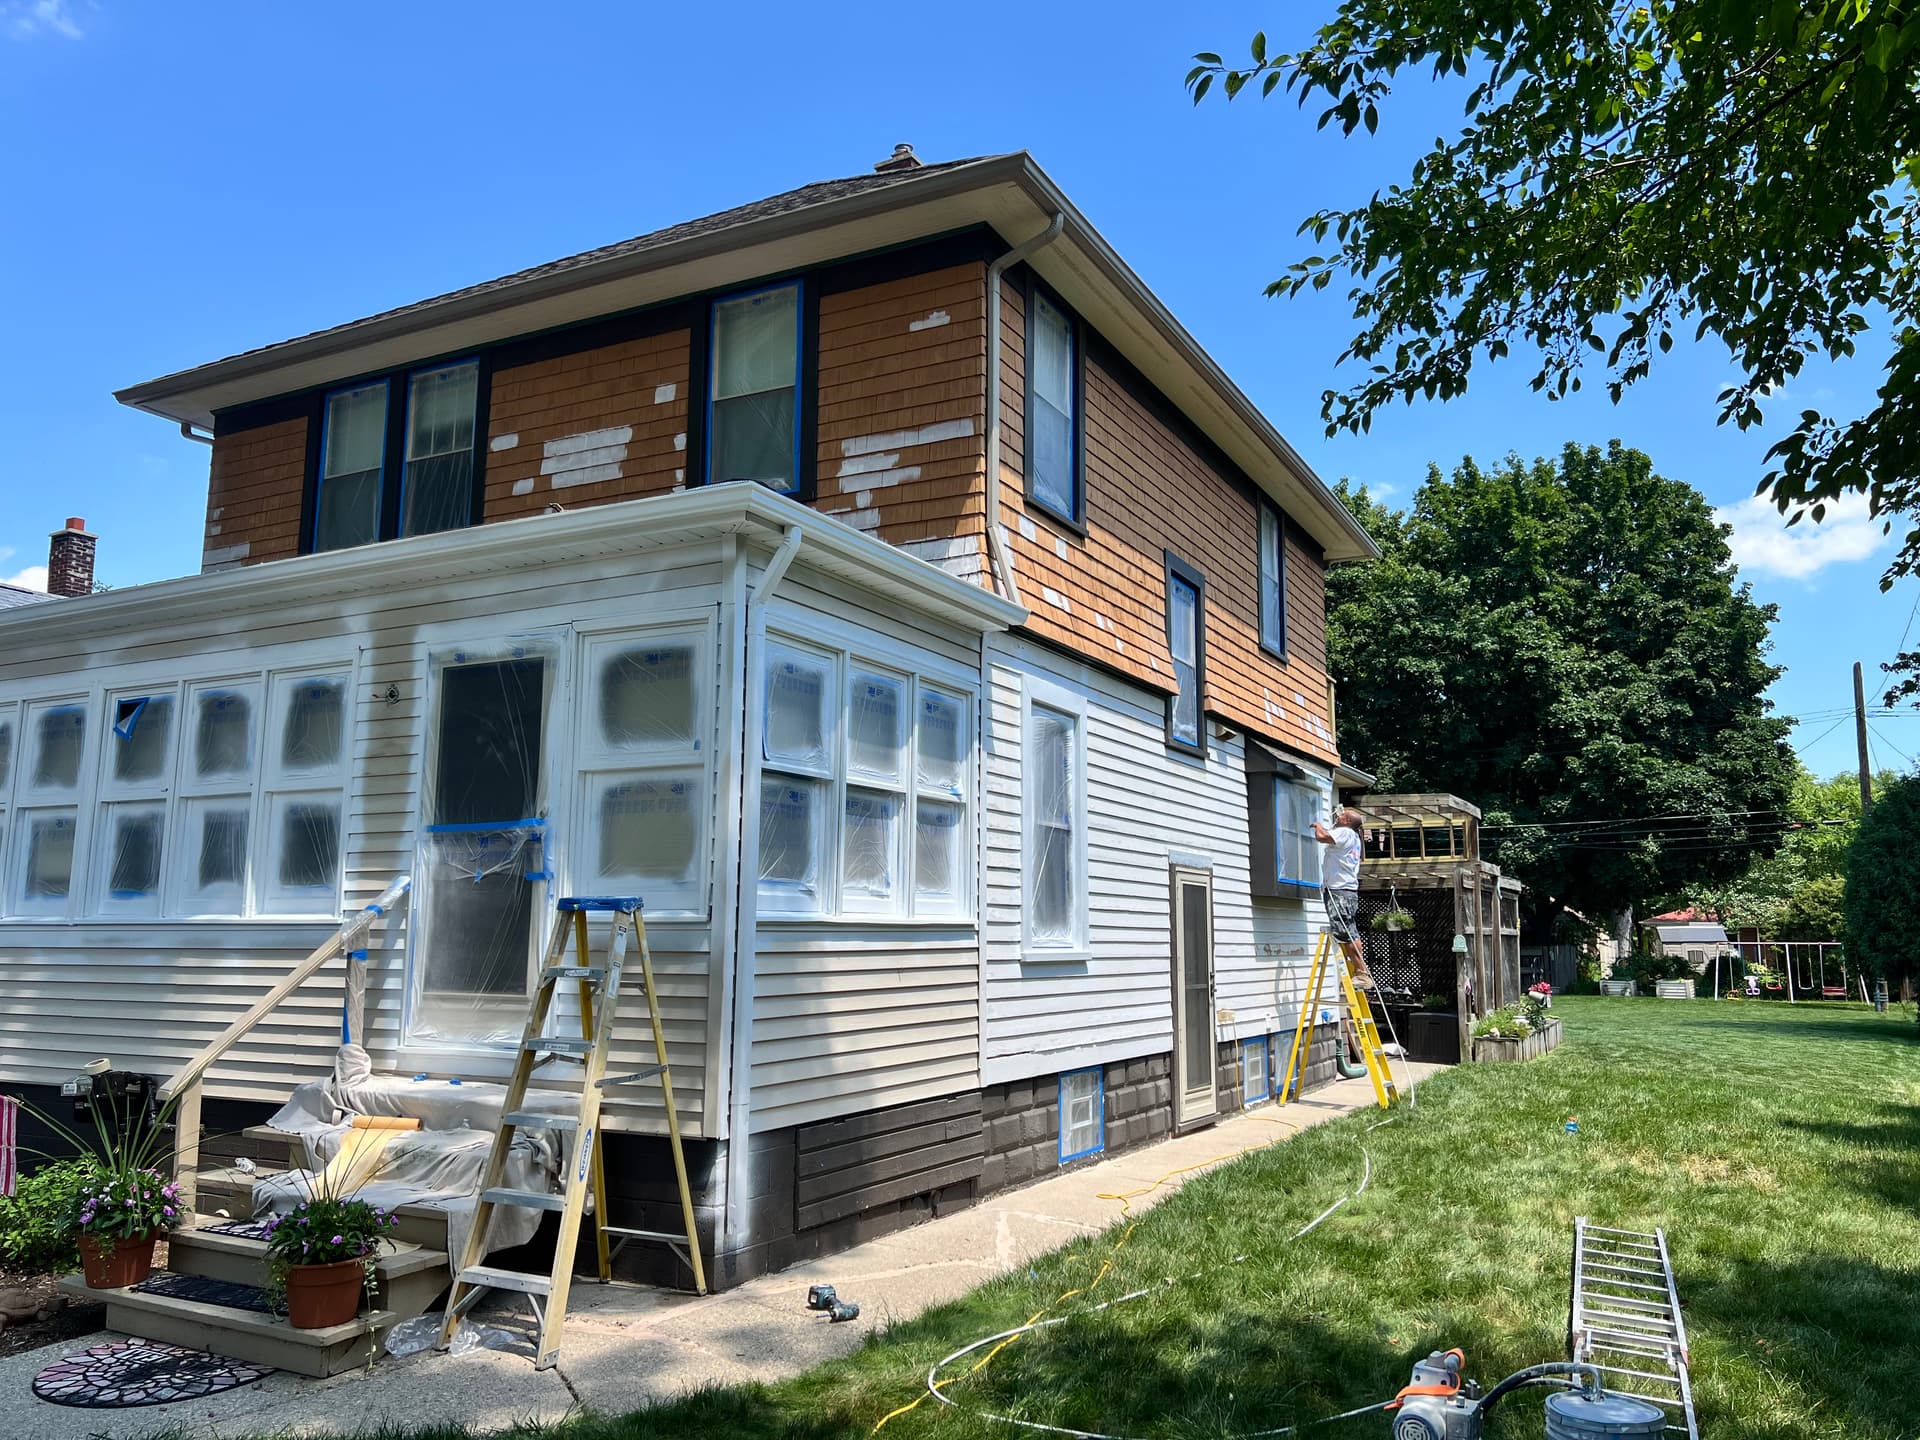
This Mount Clemens home had dark brown window frames and trim throughout. Not terrible on its own, but it was dated and heavy-looking against the lighter siding. The homeowners wanted something cleaner and brighter - and white trim was the right call.
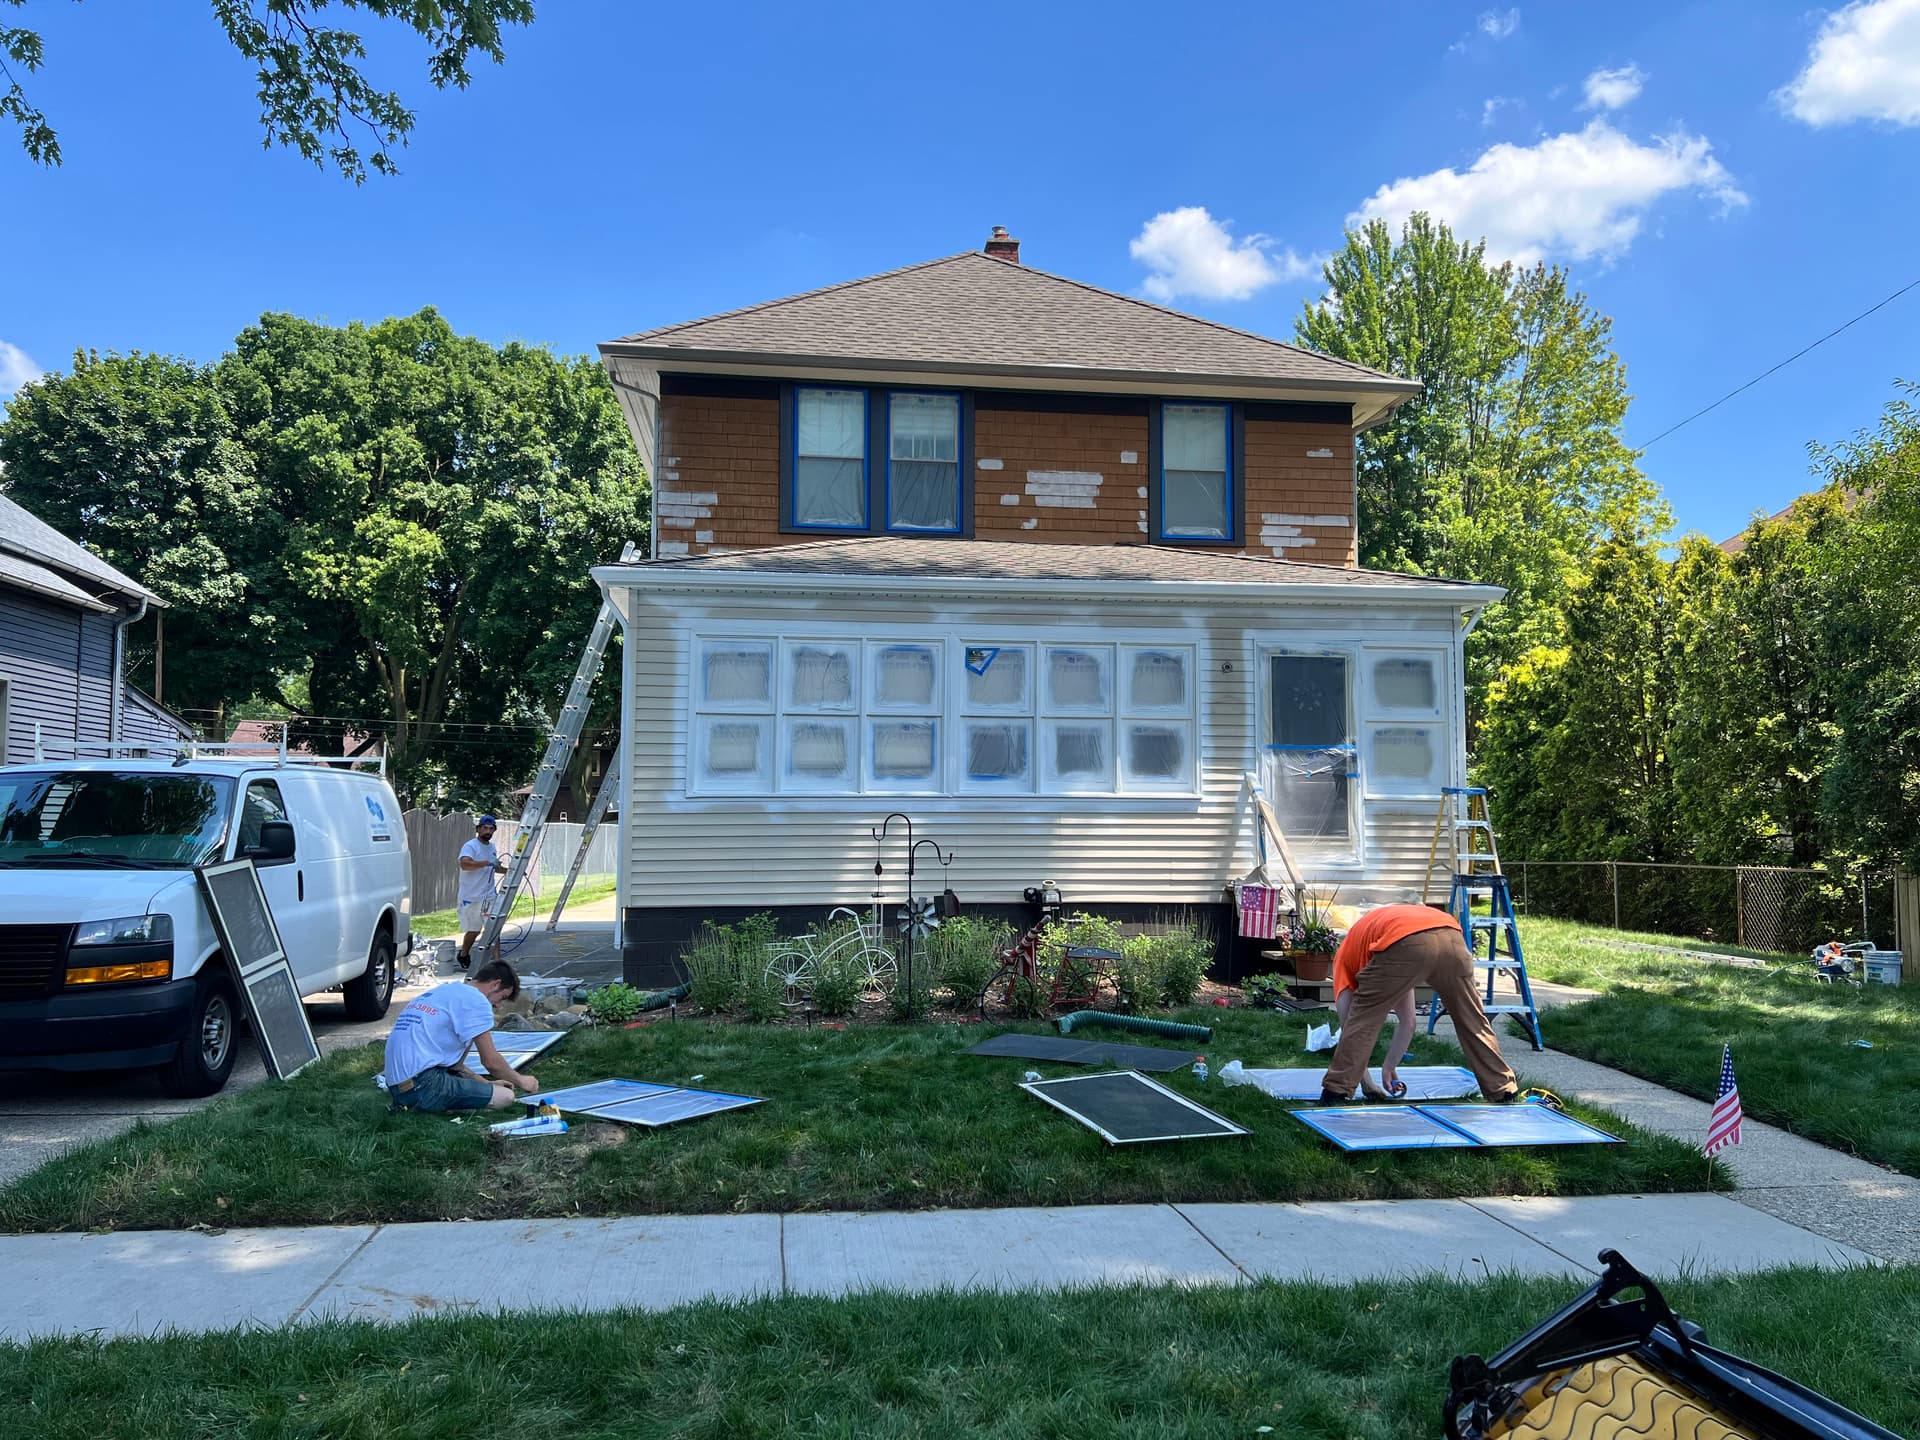
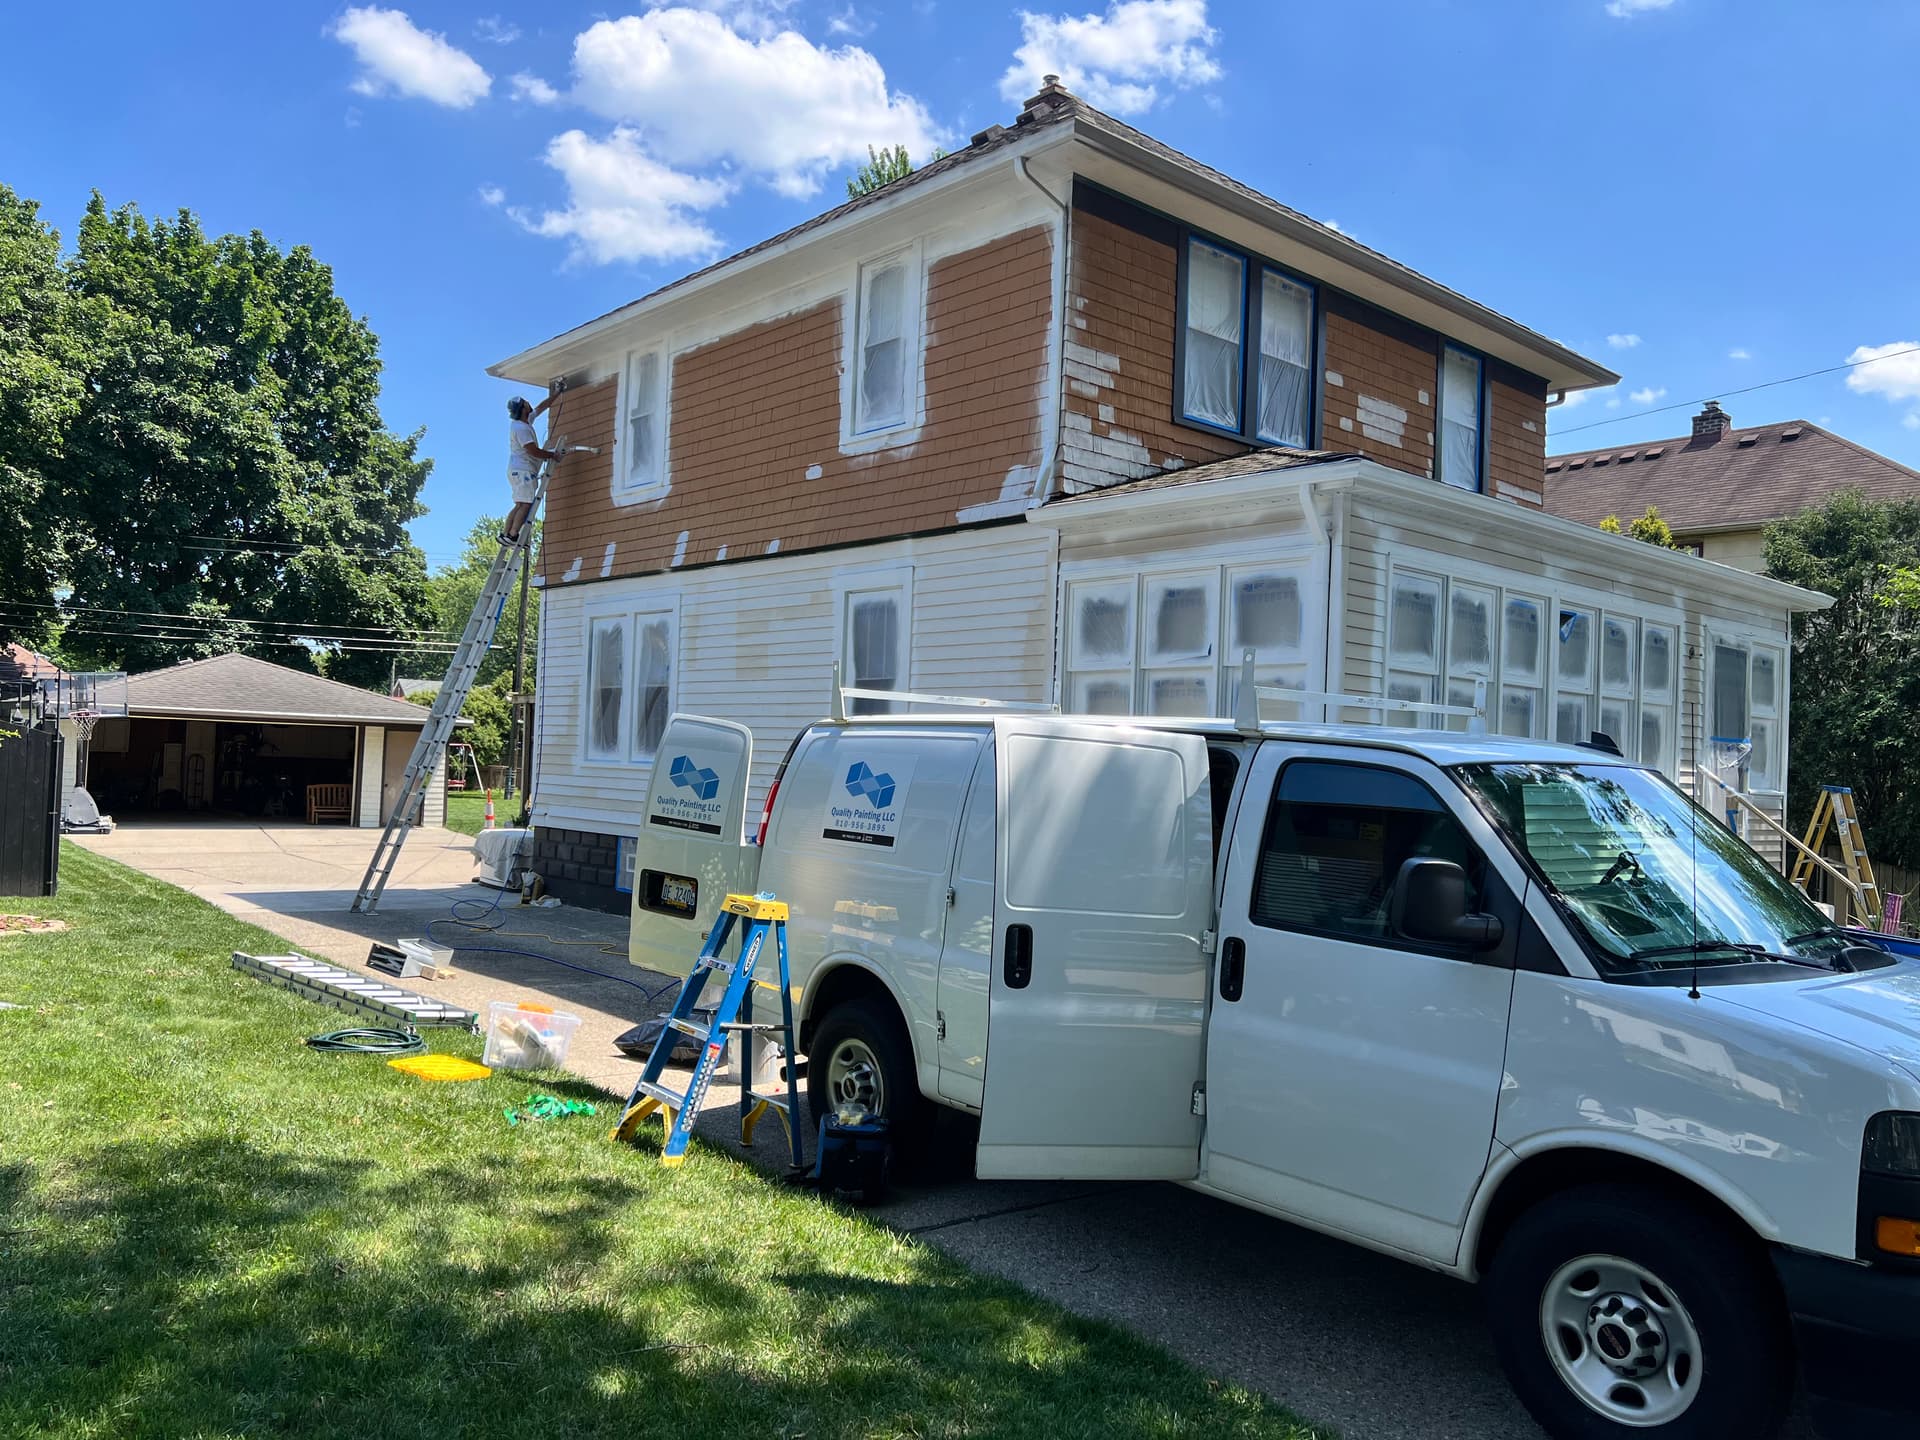
Here's what most people don't realize about a trim repaint: the prep work is where the job is won or lost. Before any paint goes on, every window gets masked off with plastic sheeting and blue tape - glass covered, frames protected. Shutters and screens come off and get laid flat on the lawn so they can be prepped and painted separately, evenly, without runs. That's not extra effort, that's just how it should be done.
We also used a sprayer rather than rolling or brushing everything by hand. Spraying gives you a much more consistent finish on trim work, especially around all those window frames. You get full, even coverage without brush marks or lap lines. The key is having proper masking in place first - otherwise spraying creates more problems than it solves. Both go hand in hand.
The patchwork you can see on the upper cedar shake siding is spot priming - bare or repaired areas get primed before the finish coat so the final color lays down uniformly. It's one of those steps that's easy to skip and immediately obvious when you do. We don't skip it.
Dark to white is one of the bigger color shifts you can make on an exterior. Done right, it completely changes how a house reads from the street. Done wrong, you end up with uneven coverage and bleed-through. Solid prep and the right application method are what get you from one to the other cleanly.